Edit Geometry Tool
Edit Geometry Tool – Cannot resolve external resource into attachment.
The Edit Geometry Tool can add, remove, select and move vertices. It can also move geometries. The functionality illustrated on this page is also available when using the Polygon Creation Tool, Line Creation Tool and Point Creation Tool
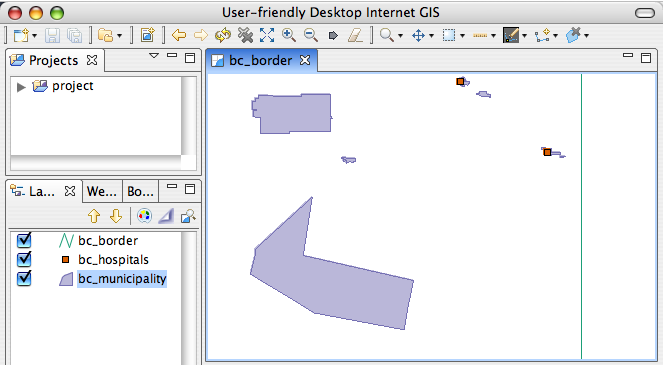
Create a map using the sample data.
- Add bc_border.shp to new map
- Add bc_hospitals.shp
- Add bc_municipality.shp
Zoom into a small area of the map.
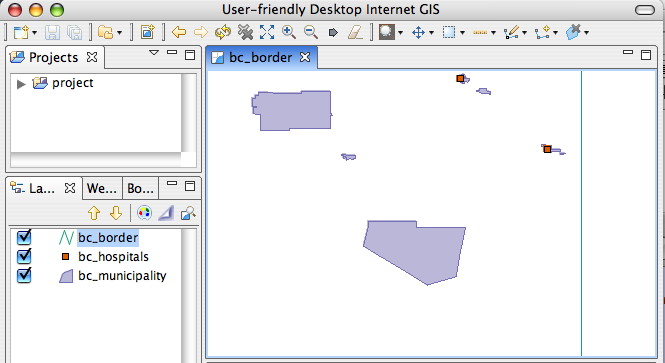
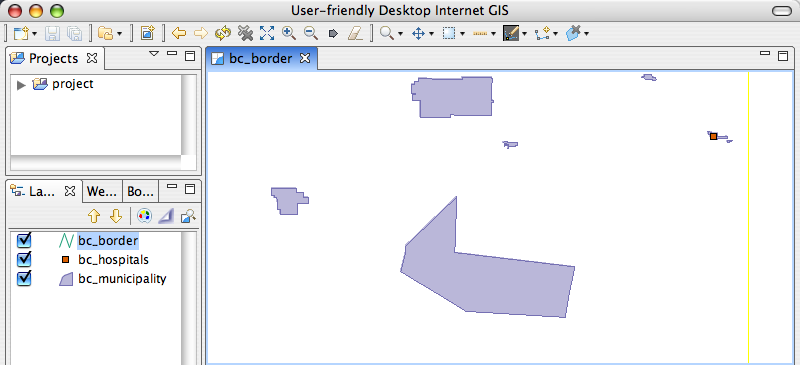
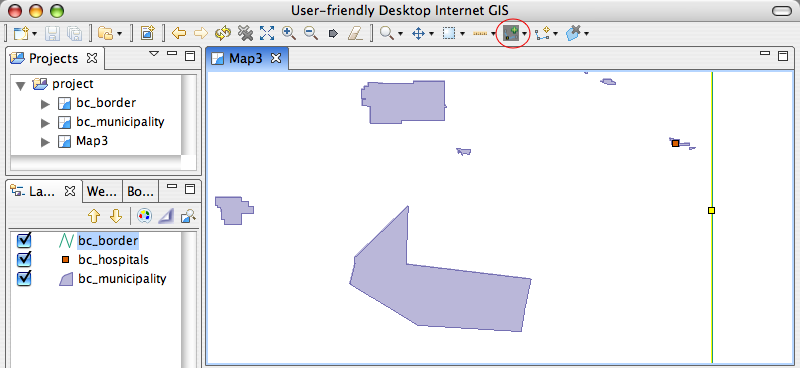
Select the layer in the Layers view that you wish to edit (bc_municipality)
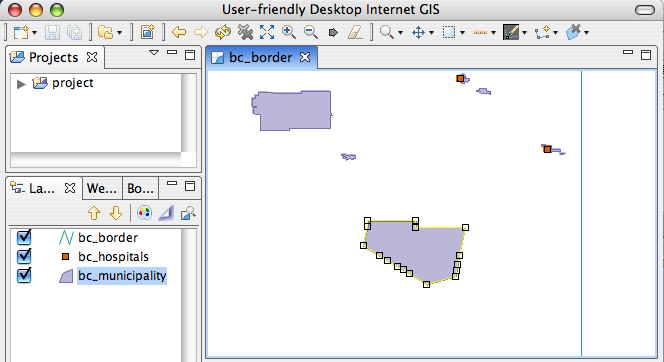
Using the Edit Geometry tool, select a municipality.
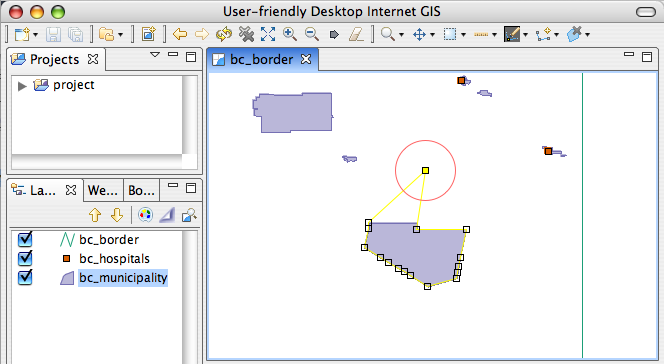
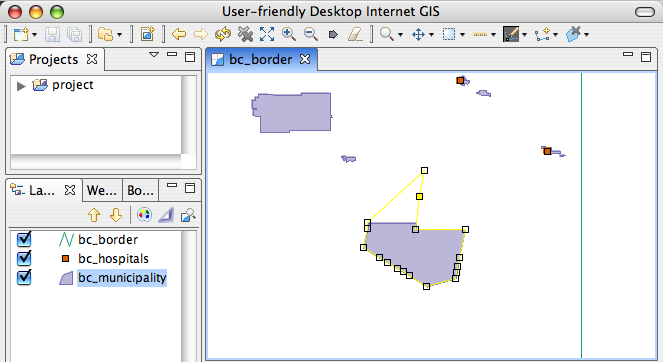
You can use the Feature Edit tool to move points. Move your mouse over a vertex. Click and drag the vertex.
Tip
The circle around the point is the current snap area. For more information about snapping click here.
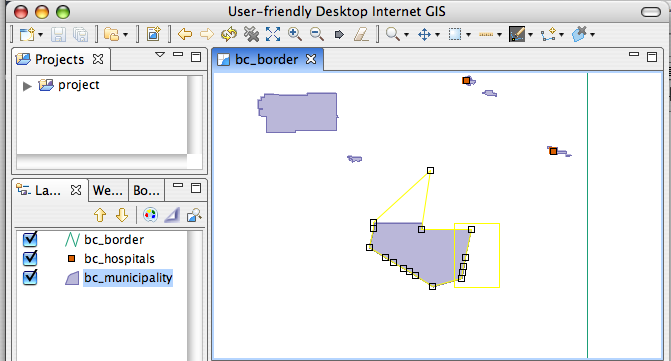
You can also create new points with the Feature Edit tool. Click on a straight line where there is no vertex. A vertex will appear and it can be moved.
To delete a vertex select a vertex and press the delete key or select Edit > Delete.
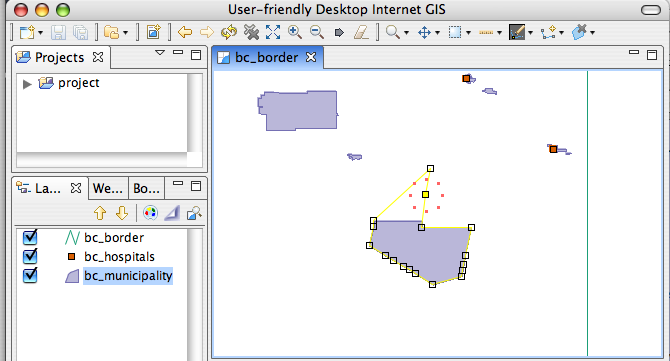
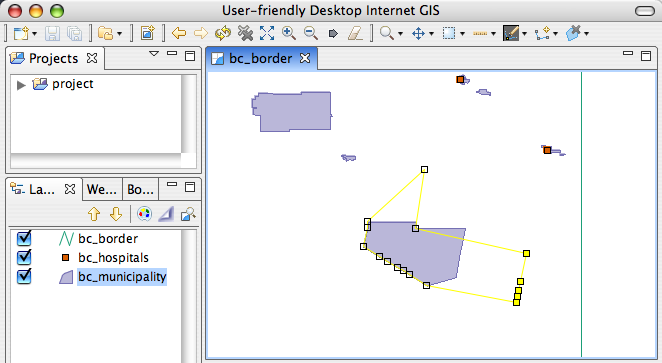
Multiple vertices can be selected by dragging selection box around multiple vertices.
All selected vertices can be moved or deleted together
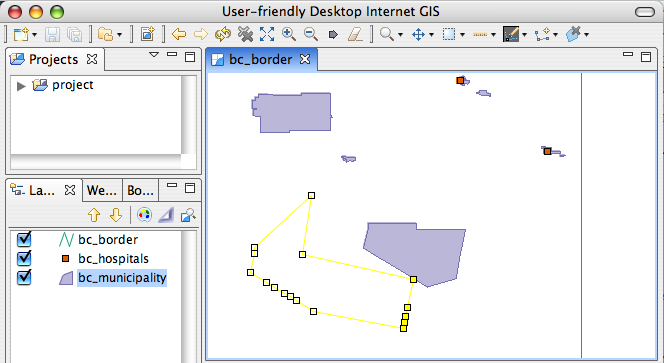
The geometry can be moved as a whole by holding down CTRL + ALT and dragging the geometry.
Once the geometry has been modified as much as desired the changes can be accepted by
Double clicking the left mouse button
Selecting another tool
Clicking the commit button.
Any operation/change performed can be undone by CTRL + Z or Edit > Undo. Undone changes can be redone by CTRL + Y or Edit > Redo.
You may also wish to look at the Feature Editor, in order to change attribute information.
Tips
Advanced Editing Mode can be used to reduce the amount of tool switching that is required. For example adding vertices can be performed with the Edit Geometry Tool in advanced mode.
Multiple Geometries can be added to the EditBlackboard and edited together.
- SHIFT -click adds features to the EditBlackboard
- ALT -click adds/removes features
Esc (or Esc-Esc depending on the platform) clears EditBlackboard.
If two selected features share a vertex moving the vertex will move the vertex on both features.
Use Snapping to snap to existing features.
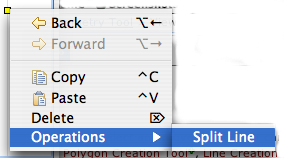
A line can split by
Selecting a line (select bc_borders and select a line)
Adding a vertex at location where the split will take place using the Add Vertex Tool
The split can now be done by:
Selecting Edit > Split Line

Or right clicking and selecting Operations > Split Line from the context menu.
Related reference